
As always, "if you don't do it, nobody else will", but I'll throw these out there anyway:
The TR space on the UESP wiki is out of date, it's a very useful document for implemented content (though it doesn't link too well with the neighboring lore pages for the official games that come after Morrowind)
- all the IDs in the item pages haven't been updated after the Tamriel_Data naming changes (maybe someone could figure out how to use the translation file on them?)
- many quests lack pages and many that do have pages are stubs and lack descriptions
- some "m3" locations from the latest release haven't been added
The handbook's exterior modding guide has dead pictures,
(those being linked to obsolete filehosts it's unlikely they've been archived anywhere)
Testing and proofreading for quests in development is always welcome

2017-03-15 15:14
6 years 9 months ago
* I don't really know if it's up to standard cause I don't do exterior modelling but maybe these images can save some time,
I didn't do the lighting section with the dock though...
Landscape Editing Tool & Basic Editing

The most important part of creating exteriors is knowing how to do it. To access the tool that allows you to edit exteriors, make sure your Render Window(top right window in the Construction Set) is active, and hit the 'h' button on your keyboard.
[1]
As you can see, there's a lot to this window, and it can seem overwhelming at first, but once you've used it a couple times, you'll become very comfortable with it! This little interface will become integral to working with exteriors, so make sure you pay attention, and don't be scared to refer back here whenever you need a refresher course!
--- --- ---
...
...
Creating a City/Town:
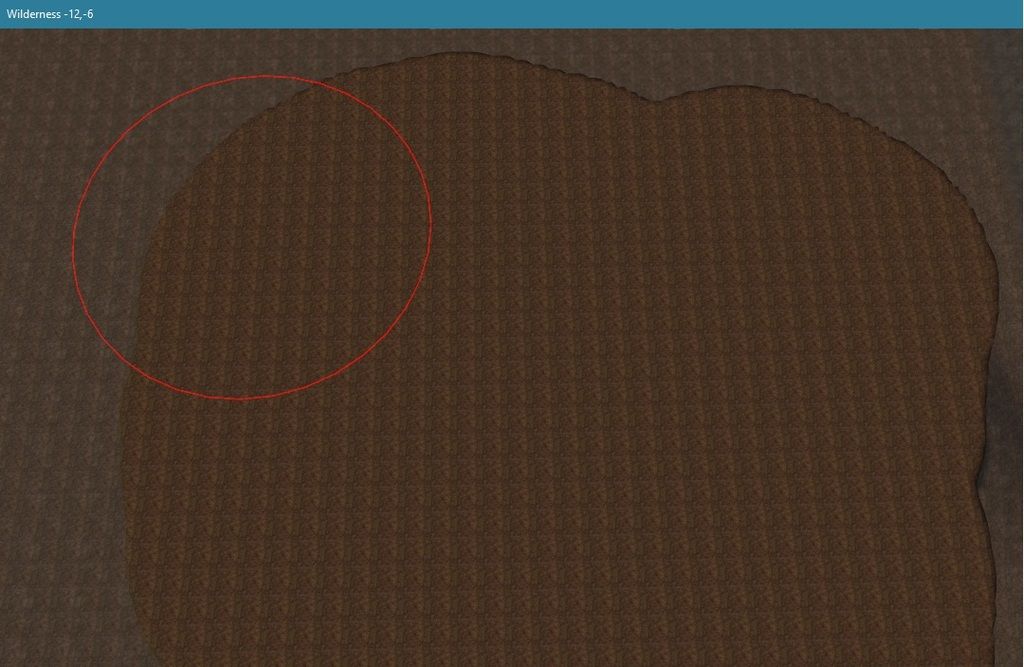
First we'll start simply by raising some land(often referred to as "pulling" some land) off the coast of Vvardenfell a ways. You can raise a small section of land above sea-level, select the flatten option, set your radius to 30, and click-and-drag around a bit to quickly raise a cell or two's worth of land for editing.
See?:
[2]
Now, you need to decide what kind of town you want to build, how large, and its general layout/design. By kind of town, I mean the architectural tileset(and relating in-game to a specific faction). There are several to choose from, but I'm going to be using Hlaalu for the purpose of this tutorial, simply because it's common, straightforward, and easy to use.
The size is important; while Balmora was four cells large, it didn't take up the entire cells, and the buildings were fairly spaced out. One cell packed with buildings is going to be larger and busier than Balmora, believe it or not. For the design, I'm using a simple horseshoe design. You can choose whatever layout you like.
So, let's get started. Go to your object window and click the 'static' tab. Single-click one of the entries and start typing: ex_h
The reason for that is to automatically skip down to the exterior Hlaalu models. The first one should be "ex_hlaalu_b_01". 'Ex' stands for exterior, 'Hlaalu' isn't abbreviated, 'b' stands for building, and '01' is just signifying that it's the first of several exterior Hlaalu buildings in the list.
You can click-and-drag these entries to the Render Window to see what they look like, then hit the "X" key to delete them if you don't want to use them yet(or ever). I'm going to take building #5 and set it down on the ground. You can "f"all it(a handy tip) to the ground by hitting the "F" key on your keyboard. Then hit the "T" key to zoom to a top-down view of your building. Hold shift and move the mouse to move to your preferred viewing point.
You should be here:
[3]
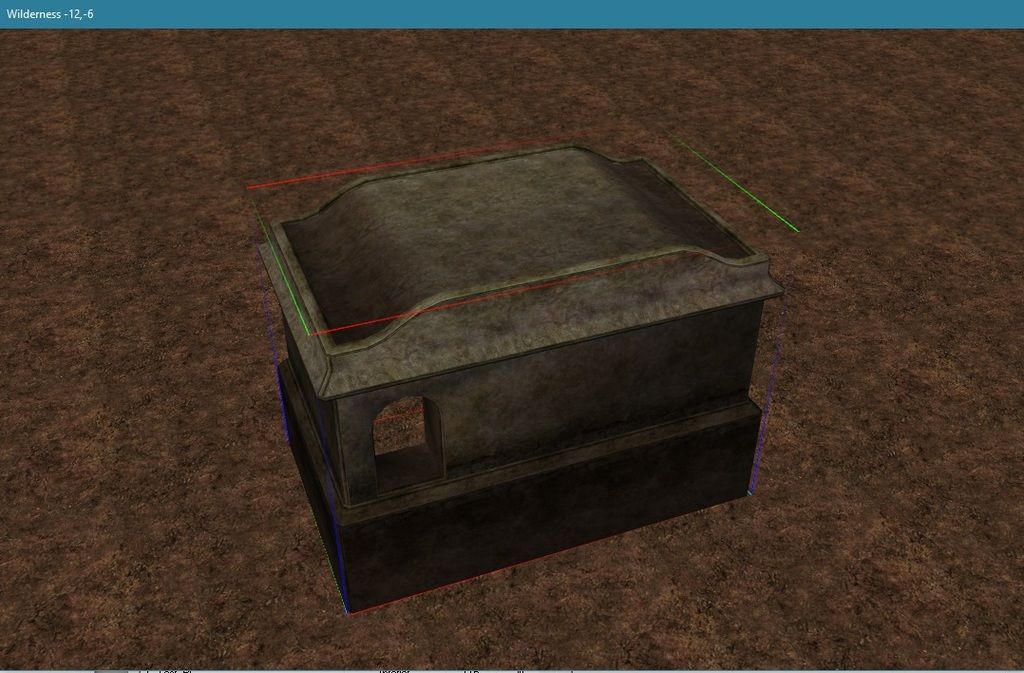
But wait! Your house looks strange, with the door frame (doors are separate from their buildings, by the way. They have their own tab in the objects window!) several feet above the ground. That's because this mesh (and most of the Hlaalu buildings, if not all) has a foundation included, to allow for more versatile use in more precarious places. Simply hold the "Z" key and click-and-drag your house down until it's roughly here:
[4]
All of your Hlaalu buildings should be lowered to about this point. You now have your first building/house! Time to add some more (I usually add doors later for large settlements; it's much more fun to create a town all at once, anyway)!
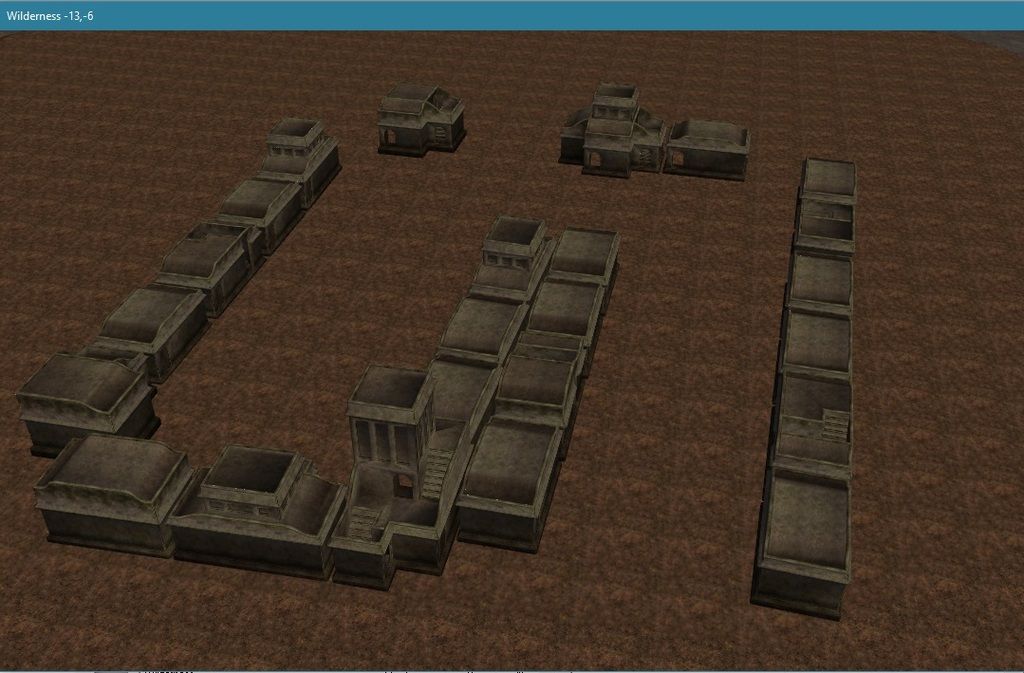
You can vary the buildings as you like, but here's what I've ended up with. Ignore the ground textures, doors, clutter, and walls for now, those are added later. Remember, if you need to rotate an object, simply select it, right-click-and-drag until it's set to your liking.
[5]
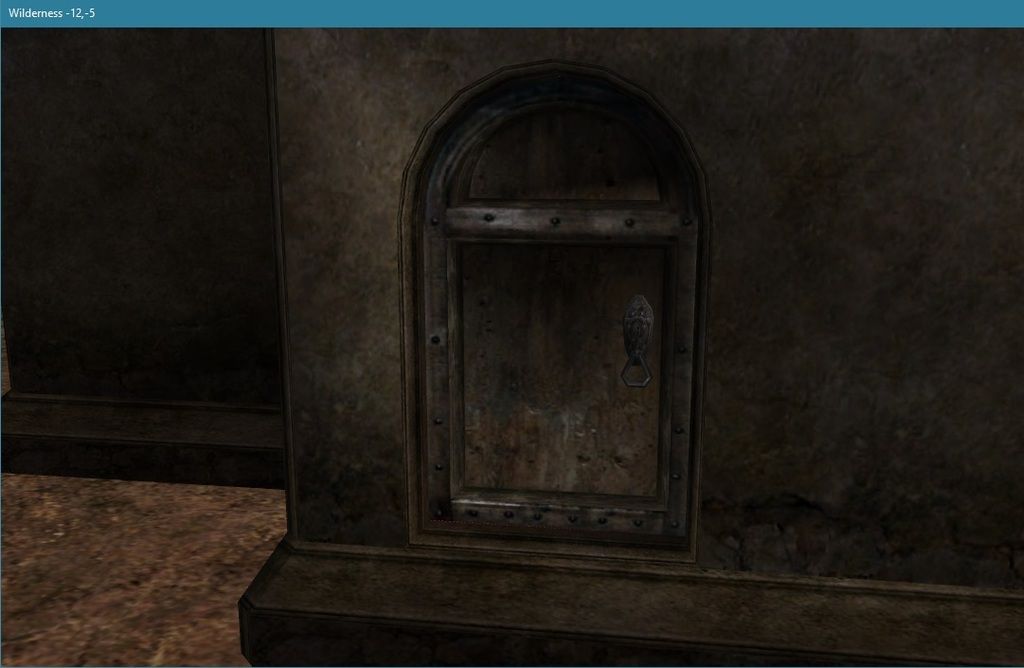
Now for doors. Zoom to a front view of one of your buildings so you can see the empty door frame. Now go to your Object window, and find and click the 'Door' tab. Click any of the entries and hit "H" to skip to the proper doors. Hlaalu_loaddoor_ 02 is the one you want. Click-and-drag it to the Render Window.
[6]
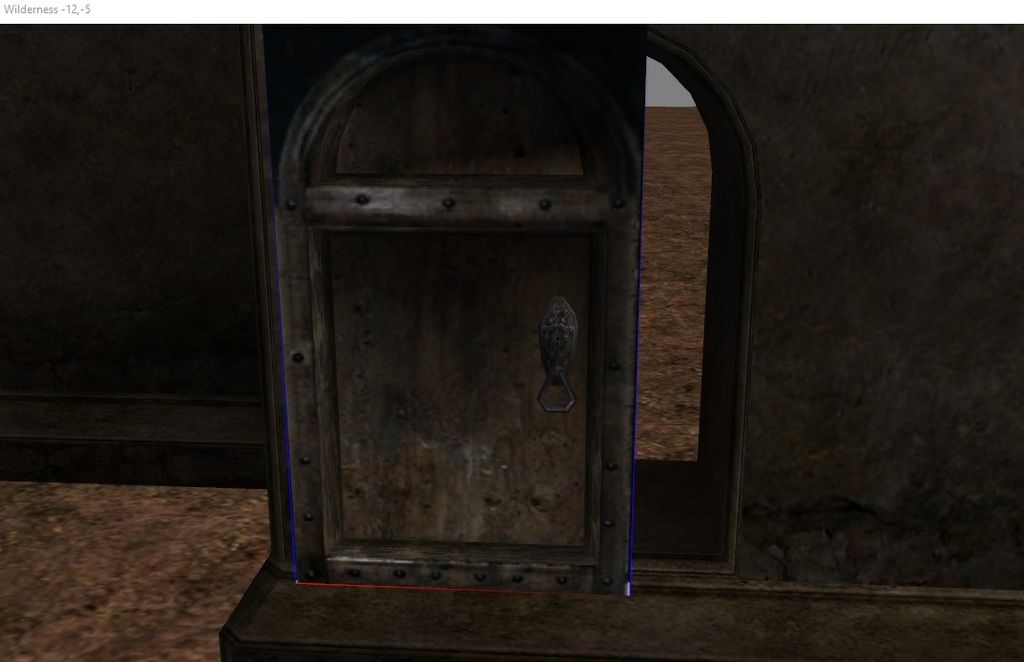
Move it into the door frame, and align it so it looks like this:
[7]
Rinse, lather, and repeat for all your buildings. It gets tedious, I know. I've done it countless times, but it just has to be done.
Alright, now we need some protection from the various outlaws and monsters that are sure to be roaming outside the town, and we want the citizens to be safe! You'll need to switch back to the "static" tab in the Object Window, and find ex_hlaalu_wall_01. That's what we'll be using for the most part.
This following section can be a little tricky, so make sure you pay close attention! Scroll to the edge of your town, to where you want the wall/entrance gate to be.
Now, before you add any statics to the Render Window, go to File > Preferences. Check the boxes "Use Grid" and "Use Angle". Make sure the Grid Snap box is either 32 or 64. This is what you want for all gridsnap-requiring pieces (except for imperial walls, which just suck (a lot), and require a gridsnap setting of like 4, which is ridiculously low).
Click "okay", and drag your first wall piece into the Render Window. You'll notice, if you move it, it doesn't move unit by unit, but jumps from location to location, as if on a grid. Drag more walls out, and align them so they line up perfectly with each other(this is what gridsnap does, after all), height, length, and width-wise. You can select them all and drag them down to where they need to be in the ground. Corner pieces are named ex_hlaalu_wall_curve_01, and the entrance is ex_hlaalu_wall_gate_03.
You now have a walled-in town! The screenshot below shows normal walls, a corner piece, and an entrance.
[8]
Time to apply ground textures. For your first settlement, we'll use a road texture for the whole thing, with some non-road spots here and there. Open up the Landscape Edit Settings window("H" key, remember?), and in the texture sub-window, scroll until you find "WG_cobblestones". Select it, and then select your Render Window. Apply the ground texture to the area you want, and then go back to your Landscape Edit Settings window.
You now have a town complete with doors, walls, ground textures, and all the buildings you want. Time to add vertex shading!
In your Landscaping window, choose a nice brown vertex shade, such as R:113, G: 89, B: 72 (only an example), and check the "Edit Colors" box. Remember to set your edit radius to 2 or 3. Go through your town and add vertex shading around the edges of every building/section of wall. You can leave the gate into your town unshaded underneath it.
Now it's time to add detail and clutter. If you have a more urban setting for your city, worry about adding crates and other containers, along with items that might be found in a hustling, bustling town.
[9]
If your town is out in the wilderness, or in a more rural location, feel free to clutter accordingly. Remember, place items that would be useful to the people who live there; don't place caches of armor and spell scrolls everywhere just because you think they're cool. It's all about being "in character" in order to immerse the player into the game world!
A final note: there are different types of clutter. For example, you should consider "town clutter" and "personal clutter". Town clutter would be anything used in common, or without specific ownership. These would be crates with torches, or random crates found in alleys. Personal clutter is, logically, clutter owned by a person. A crate or urn outside a doorway, right next to a house, or sitting on a table on a balcony.
--- --- ---
2014-03-16 17:45
2 years 1 month ago
@Soul Collecter thanks a lot! I've linked them in the page>